07517 858103WhatsApp07517 858103WhatsApp
Rent Loud double PA package

Self-service setup guides

Double PA Package Setup Guide

Set up two powered speakers and microphones for clear speech coverage across a wider room.

Reviewed by the Rent Loud team Updated 12 July 2026

Package checklist Step-by-step setup Safety and cable tips

At a glance

Double PA Package

£129/day

Best for

Panels, ceremonies, and larger rooms

Package focus

A wider PA setup for speeches, panels, ceremonies, and small live performances.

Before you begin

Choose safe positions, then check every item is there.

What's included

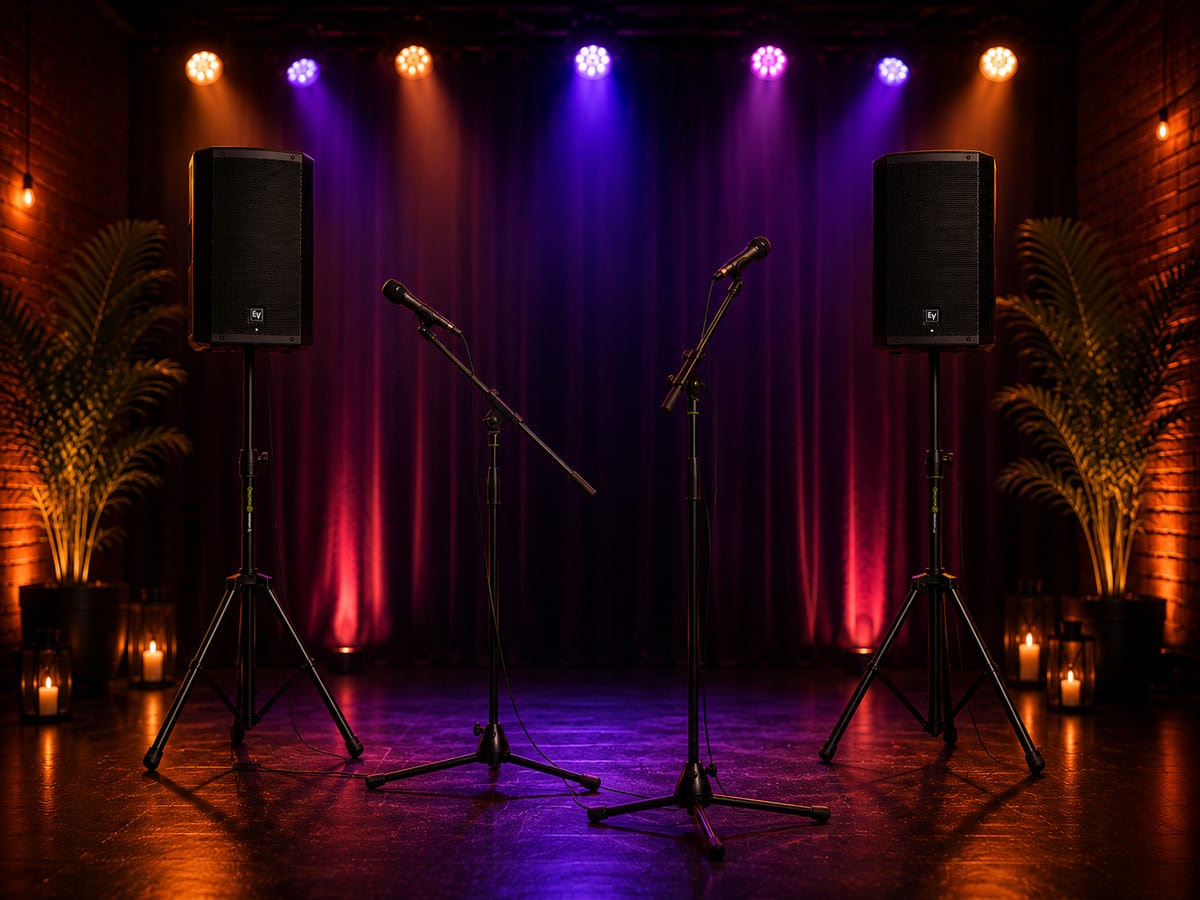
  • 2 Speakers (1000W)
  • 2 Speaker Stands
  • 2 Microphones
  • 2 Microphone Stands
  • All cables included

Good setup position

  • Place speakers to the left and right of the audience, facing them.
  • Put microphones in front of the speakers, never behind them.
  • Use flat ground, fully opened speaker and microphone stands, and safe cable routes.
  • Keep equipment away from drinks and doors.

Setup steps

Work through the setup in this order.

Step 1

Set up both speaker stands

  1. Open each tripod fully on level ground and tighten its leg knob.
  2. Set a sensible height—slightly above head height is usually enough.
  3. Mount each speaker securely and point the grille towards the audience.

Step 2

Connect microphones

  1. Set up the microphone stands in front of the speakers.
  2. Plug each XLR cable into a microphone and Input 1 on the nearest speaker.
  3. Place microphones in the stand clips and keep their cables off walking routes.

Step 3

Connect power and turn on

  1. With levels low, connect each speaker to mains power.
  2. Switch both speakers on.
  3. Raise each Input 1 level gradually while someone speaks close to the microphone.
  4. Raise main levels slowly until the voice is clear at the back of the room.

Step 4

Optional Bluetooth background music

  1. Put one speaker into Bluetooth pairing mode and select it in your phone, tablet, or laptop Bluetooth settings.
  2. Play music quietly, then balance the source and speaker levels so voices remain clear.
  3. Keep the device close to the paired speaker and charge it for the event.

Step 5

Balance and test

  1. Walk to the back and sides of the room while someone speaks normally.
  2. Match the two speaker levels so one side is not much louder.
  3. If you hear ringing feedback, lower the microphone input immediately and move the microphone further in front of the speaker.

Step 6

Pack down

  1. Lower input and main levels, switch both speakers off, and then unplug.
  2. Disconnect and coil XLR cables, fold microphone stands, remove speakers carefully, and pack their covers and stands.

Useful tips

Keep the setup clear, tidy, and under control.

Speech and microphone technique
  • Speak close to the microphone—about a hand's width away.
  • Do not cover the microphone grille or tap it.
  • Use one microphone at a time if the room is prone to feedback.
  • For a panel, test each microphone position before guests arrive.
Cable safety
  • Run power and microphone cables around walls where possible.
  • Use tape or cable covers where a cable must cross a route.
  • Never pull an XLR cable to move a microphone or stand.

Troubleshooting

Quick checks if something is not working.

Microphone has no sound
  • Check the XLR plugs are fully clicked in.
  • Check Input 1 and the main level are both up.
  • Ask the speaker to talk closer to the microphone.
Loud squeal or ringing
  • Lower the microphone Input 1 level straight away.
  • Move the microphone in front of and farther from the speaker.
  • Make sure it is not pointed at a speaker.

Important safety notes

Prioritise clear voices, stable stands, and safe cable runs.

  • Keep all equipment dry.
  • Do not overload mains sockets.
  • Do not move a speaker stand while mounted.
  • Keep cables and stands out of walkways.
  • Do not open or repair equipment.

Need help?

If you get stuck, contact Rent Loud.